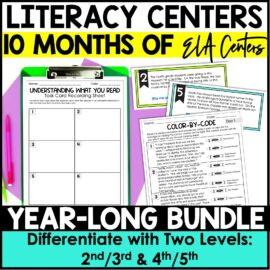
I’m absolutely obsessed with literacy centers. But it hasn’t always been that way. When I was a new teacher, I was excited to do literacy centers but ended up giving up on them really fast. They require a lot of prep work and knowledge of organizing everything while ensuring students are doing them correctly.
So, I’m going to share how to set up and manage literacy centers without it being overwhelming and time-consuming. You’ll even be able to use them year after year.
What are literacy centers?
Literacy centers are a way for students to work on specific literacy skills. They could be applying what they just learned in class, doing spiral practice on skills from throughout the year, or personalized practice based on their needs.
Literacy centers provide an excellent opportunity for differentiation. So if you have students at a lower reading level, you can tailor the activities to them. But you can also do them as a whole class review or rotate students through the centers while you do small group work. This allows you to have more time to differentiate for struggling students.
Literacy centers are not just “busy work” while you’re doing small group. Instead, they are targeted practice, so students get extra time to practice the skills they’re learning this year.
How to gather materials for literacy centers
You can easily get ready-made centers from our shop or make your own by using some of your curriculum’s resources. There are lots of different opportunities to find resources. It’s the organization and putting them together that is the real struggle.
Organizing Literacy Centers
While prepping my centers, I will laminate any posters, student information pages, or resources that can be used year after year.
I like to keep a copy of every single center in a filing cabinet. Doing this makes it easy for me to pull them out and make copies when needed. That way, I don’t have to worry about my students using all the copies from the group folder and needing to reprint everything again. So, I paperclip them together, separate them by quarters, and keep them in the file cabinet.
So, I pull this file out of the cabinet when I’m ready to use it, along with a few other centers. I will make sure there are copies for all students (if they need their own copies) or place them in sheet protectors so they can write on them with dry-erase markers, so we don’t need copies. But if there are student copies or any information they need for the center activity, like a spinner or other tool, I put it together in the folder. Then, I put the folder into a groups pocket chart that has six places for folders.
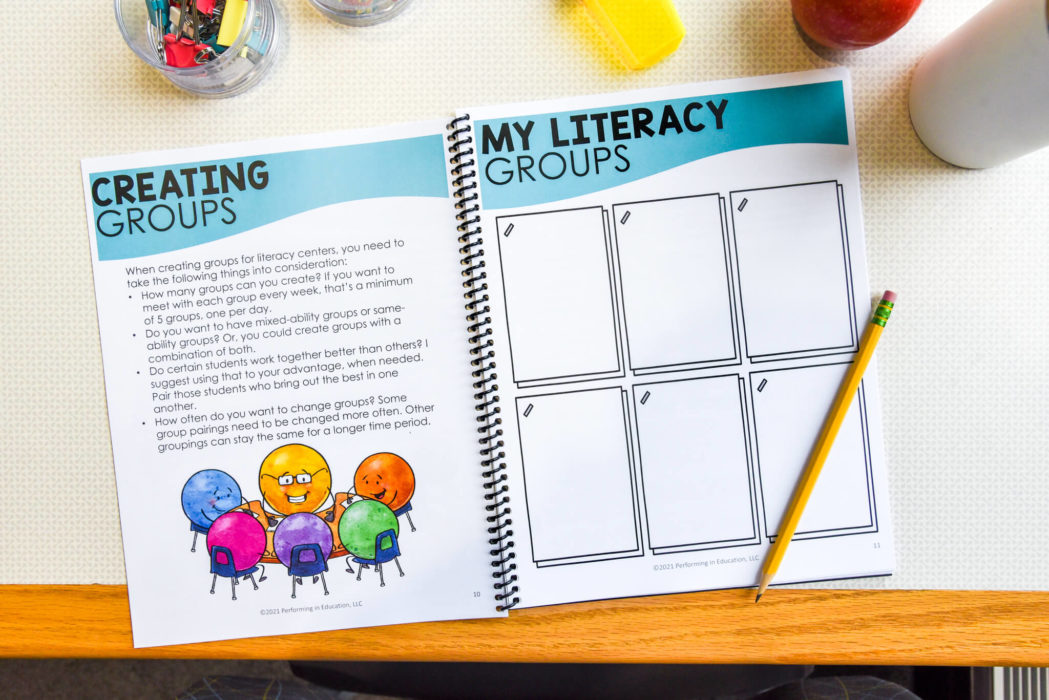
Doing this makes getting the literacy centers together really easy. I go into the filing cabinet, pull out the ones I want for the week, and slip them into each pocket. Since I have six pockets, I can put students into six groups. And that’s usually enough centers to get through the week since we have limited time. Sometimes we’ll rotate twice during the day, but there are days we’ll only do one center.
What to do at the end of centers
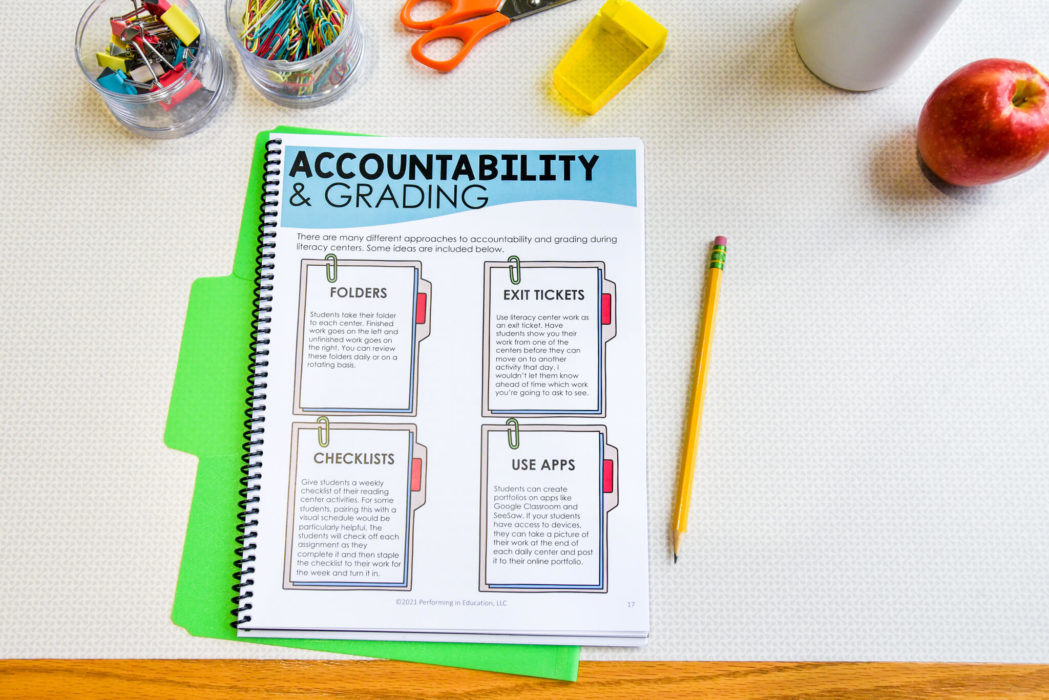
You’ll also want to have some sort of tray for students to turn in any completed work at the end of their center. Or, you can have a folder for students to keep their papers. How you handle this really depends on if you want to see their work from the centers or if you want them to take it and continue working on it at some point during the day.
I like using a completion tray so that when students finish, their papers go in the completion tray instead of getting put back in the folder for the center. This way, when the next group uses the center folder, they won’t be able to see other students’ work.
Managing literacy centers
The groups pocket chart I use has a space for all your students’ names. You can place their names in the pockets, so the groups line up with the center folder they will suppose to use. Then, you can rotate their names when needed.
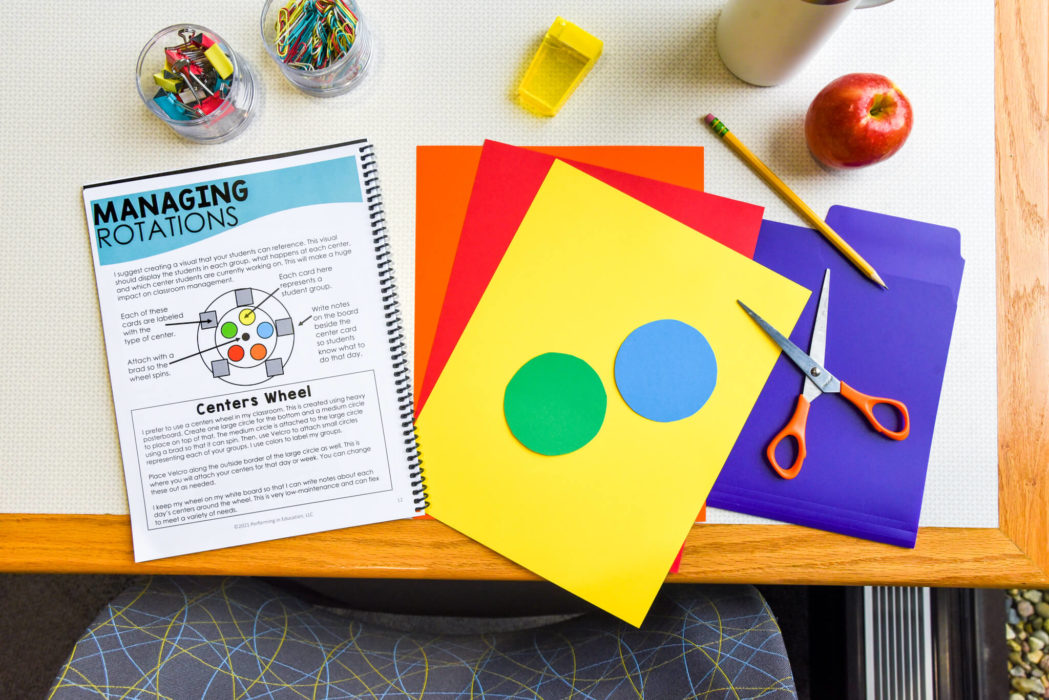
But I’m lazy and don’t like to have to move that many student names around because it can be about 30 students. So, instead, I give each of my student groups a color. I use color index cards, which are super cheap and make the process fast. So, if I put the yellow card in the top spot, every student in the yellow group will do that activity to start. And, then I place all the other colored index cards so each group knows what center to do.
Then, when you’re done with your centers, you can take the cards and rotate them. Move the top card to the bottom and the others up one spot. I don’t move the file itself because it still has all of the centers’ information, and I don’t have to re-prep or make any changes.
That makes it easy to manage. Using their names instead of color groups may be helpful if you have lower grade levels. But for third grade and up, the color cards are the fastest way to go.
Student logs
If your students keep folders or you want them to keep a log of what they’ve done, you can use a literacy center log. They can write down the activities they do each day. It can be helpful for students to keep track of, but it’s optional.
Interested in learning more about literacy centers?
If you are interested in getting started with literacy centers, grab this FREE Literacy Centers Organization & Management Guide. In addition to what I shared above, it includes more information about setting expectations and other options for managing groups and centers.
In the guide, I also share free and simple ideas for organizing centers if you don’t want to use a hanging organizer as I do. Overall, the guide gives you an excellent overview of how to set up and manage centers.
If you want to know more about what I include in my literacy centers and where to find materials you can use, read my post All of the Activities I Use for My Elementary Literacy Centers.
