I’m excited to show you how I quickly plan writing lessons for an entire week. It usually takes me 10-15 minutes to prepare my writing lessons for the week, and then I’m good to go. So if you’re excited to see how I use Simplify Writing to plan everything from the models to the student pages quickly, this is for you!
Having access to the Simplify Writing curriculum is helpful because I don’t have to think about what skills I’m teaching that week, what to do for each writing lesson, or which materials to prepare. It’s all there, including the directions on what to do for the week.
Want to see what this looks like? Check out the sample writing lesson plans here to get an idea of what my writing lessons look like. If you are a visual person, you can watch the full video to see the steps I walk through on my YouTube channel here.
I’m going to start in my main writing lesson resource library to explain where I’m getting the lessons, what they look like, and what I do when downloading, planning, and prepping for my students. I’m also going to share what I do when using Google Classroom.
Let’s Start Planning a Writing Lesson
Usually, on Friday, I’ll go into the main resource library and look at the Scope & Sequence to see what’s happening for the month. For my example, I’m going to use a 4th-grade writing unit and choose the writing lessons for October, which focus on Opinion writing.
I can scroll through to see what writing standards will be taught during the month. You can also find this information on the Lesson Plans page, so you don’t have to view it through the Scope & Sequence page every time.
Writing Lesson Plans
Once I’m on the “Lesson Plans” page, I will click the “October Opinion” box. For this example, I’m going to use “Week Two.”
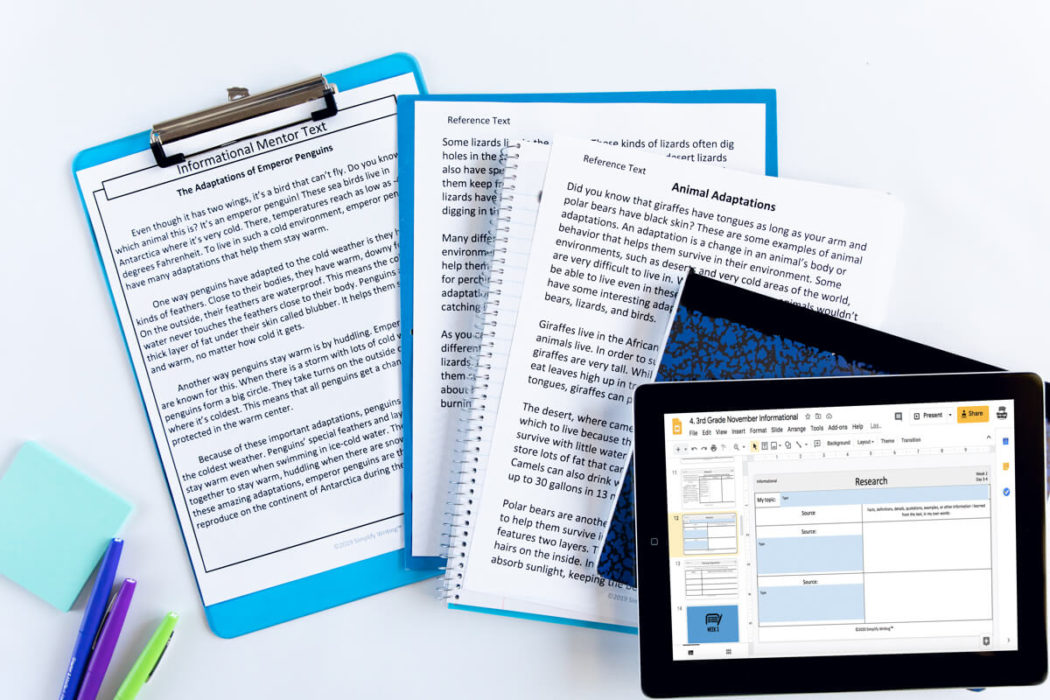
In “Week Two”, I’m going to see my writing lesson plans for the entire week. The lesson plans include:
- Materials list
- Lesson overview
- Teacher examples
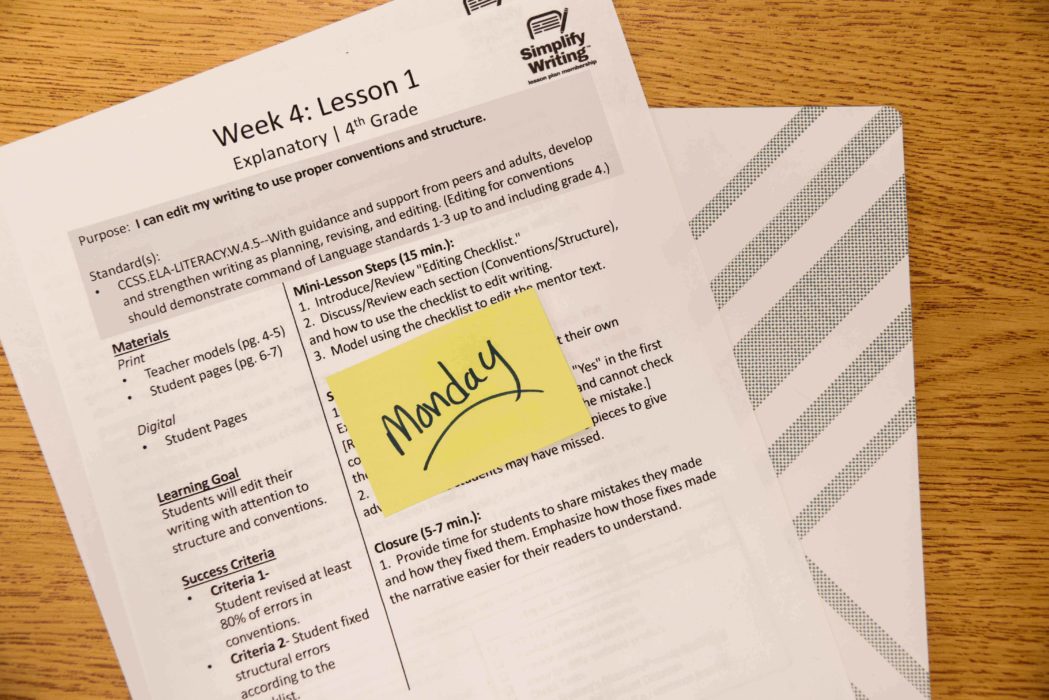
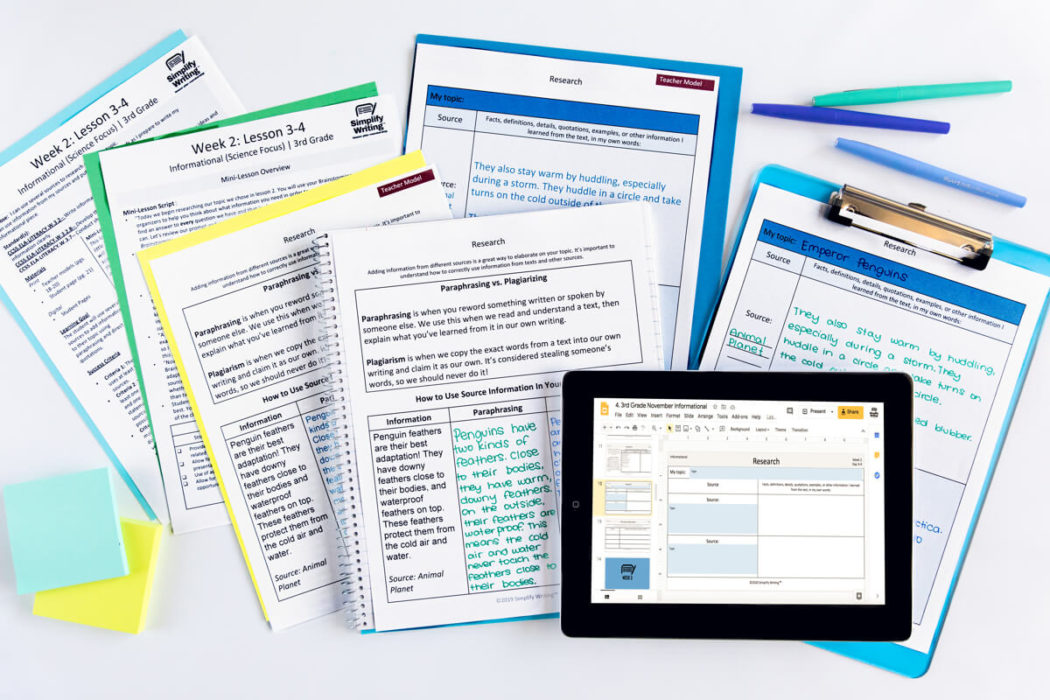
I’m going to select the teacher models and print those individually for myself. Color printing is helpful, but not necessary. Next, I print the lessons and stack them near where I teach my writing lessons, so I have all the teacher examples for the week.
If my students use printed resources, I’ll also print off the student pages. Sometimes if it’s an easy organizer, I’ll have them replicate it in their notebook. However, this depends on your students’ ability levels because you don’t want to take too much extra time.
Lesson Plan Tip
I typically bring up the lesson plans on my computer daily to scan them to ensure I’m good to go. But if you’re less familiar with the lessons or writing instruction, I recommend printing the overview page to attach to the teacher model.
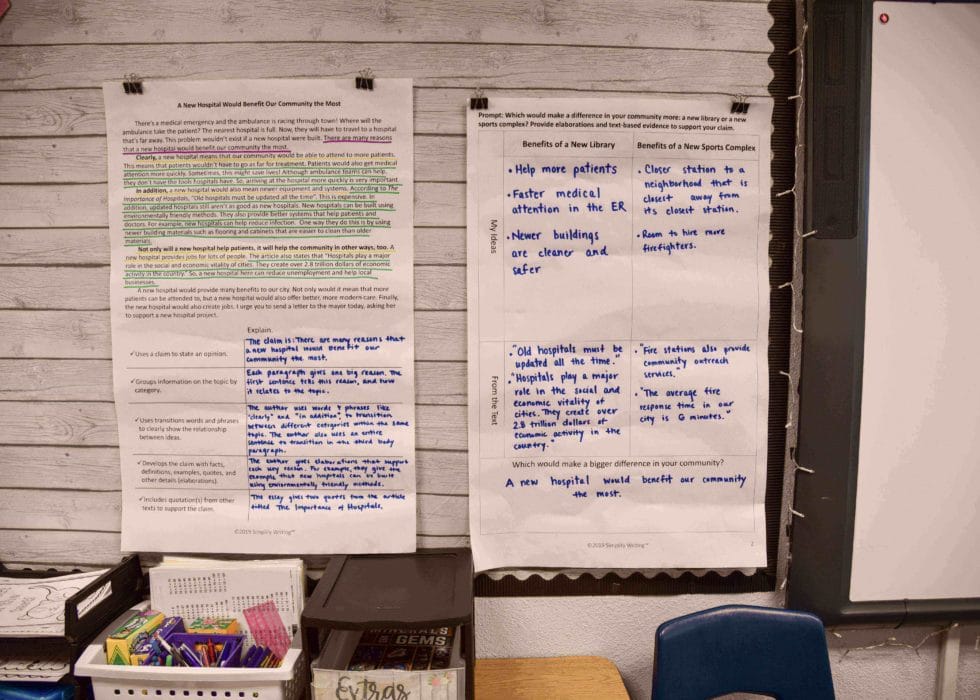
You can do the writing lesson on an overhead or by displaying it on your computer or with anchor charts. I love anchor charts, especially if my students struggle and don’t enjoy writing. I find the students have more fun with them.
That’s all I have to do for the lesson plans. I don’t need to do anything else with them. The lessons align with the standards, so I just print them and have them ready.
Printed Resources
I usually print one and then make copies when I use printed copies. Or, again, you can have students just copy the organizer down in their notebooks.
Digital Resources
I also need the Digital Resources because my students are using Google Classroom. So, I’m going to prepare those as well. It will allow you to make a copy so you can make changes on the backend. Since we are only doing Week Two, I will delete everything else.
You can assign these Digital Resources to students page-by-page, but usually, I share the week. Then, students can work on it one day at a time. I don’t usually have a problem with them working ahead because they don’t have time.
You can also download the digital resources as a PowerPoint to upload them to any platform you use.
Google Classroom
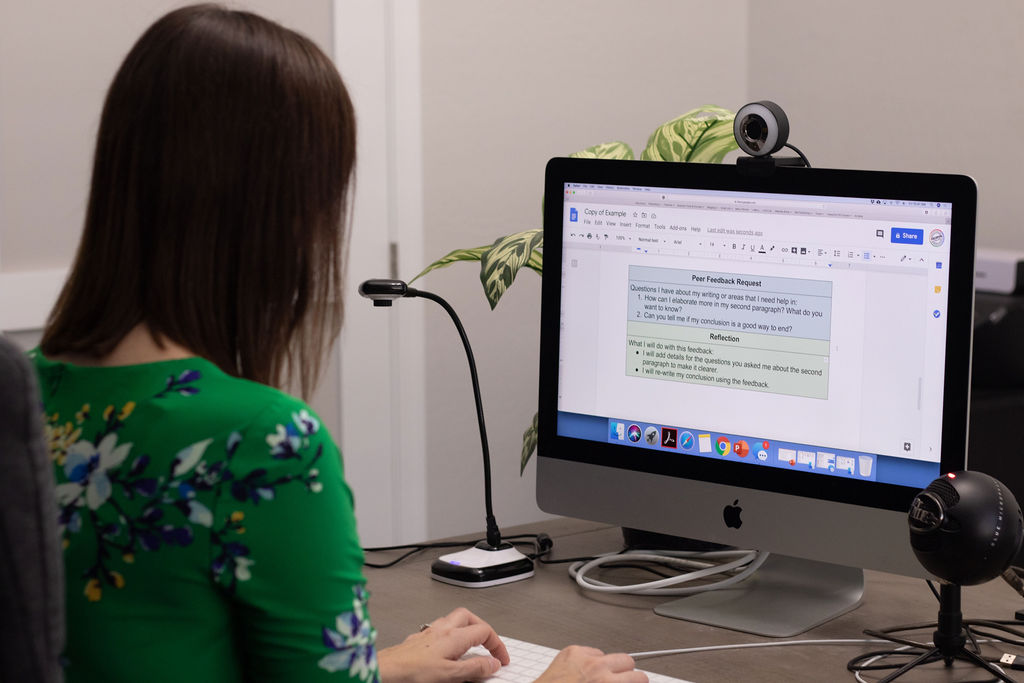
In Google Classroom, I set up the lesson as a new assignment. I put it in for a week. I take it straight from my drive and add very few directions. Instead, I give them the directions. I give students a lot of models and examples upfront, so they know exactly what they’ll see when they get into the file.
There is no need to do anything fancy with adding descriptions. It is designed as a very scaffolded activity.
Preparing to Teach the Writing Lesson
If you are projecting this on a smart board or using a document camera, it’s super easy. You can use the print or digital copy of the student organizer. You won’t fill this in until the students are with you so you can use it as a learning opportunity.
It takes a couple of extra minutes to prep if you’re using an anchor chart. I like to put the organizer on the chart before the students are there, so I’m ready to start the lesson immediately. I also like to clip my teacher examples up on the board, so they are ready for me to use. Coming up with teacher examples is hard, especially when sitting in front of students. So, I like always to have it printed and ready to go.
You can also print and clip the directions on the board with your examples if you need more support.
It’s as simple as that.
If I have interventions, I’ll go to the intervention library and grab a couple of resources there. Then, I may head to the grammar library to grab some resources there. Then, I’ll print these or share them on Google to be prepared for the week.
If it’s something where we are focusing on one part o the writing process and have limited time, it’s super simple to prep the core lesson. It used to take me so much time to plan for writing.
Using Simplify Writing is as simple as logging in on Friday and getting everything ready to go in 10 minutes. If you’re interested, you can check out these sample writing resources.
